WordPress 101: How to Change Header Images

If you’d call yourself a WordPress “newbie”, you know just how stubborn the platform can be when you’re just getting started.
Sure, it’s one of the easiest platforms for beginners out there in the world “wild” web. But what even is “easy” when you know nothing about putting a website together?
Not to worry. We’re here to clarify your WordPress doubts in a heartbeat, regardless of how simple it may sound to more advanced users. To us, nothing’s so simple that it can’t be misunderstood. In this article, you’ll learn, step-by-step how to update a header image in WordPress.
Read on.
How Do You Change a Header Image in WordPress?
To add or update an existing header image, here’s what you’ll do:
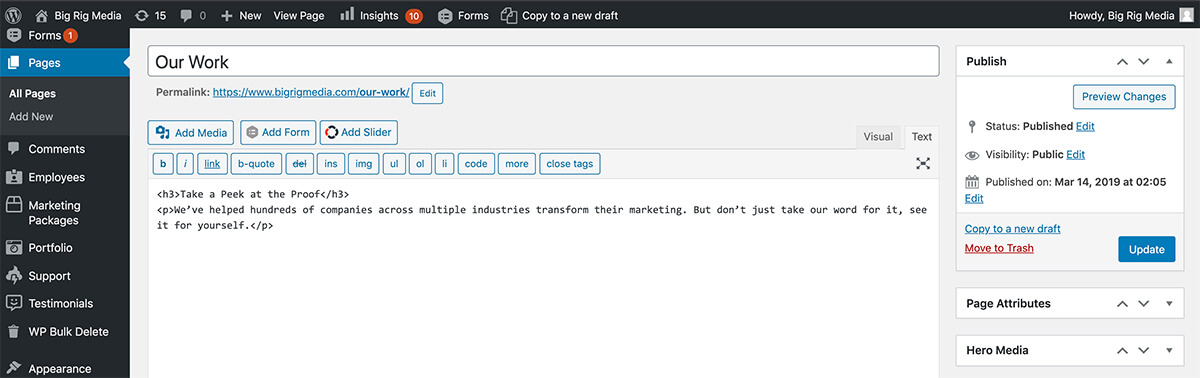
After logging into WordPress, click on the Home icon with the name of your site on the top left corner of the page.

Go to the page you would like to edit and click on the “Edit Page” pencil icon in the top toolbar.

When you do that, your website page will pop up, and so will another right sidebar with several customization options.
Click on the Header/Hero image section.
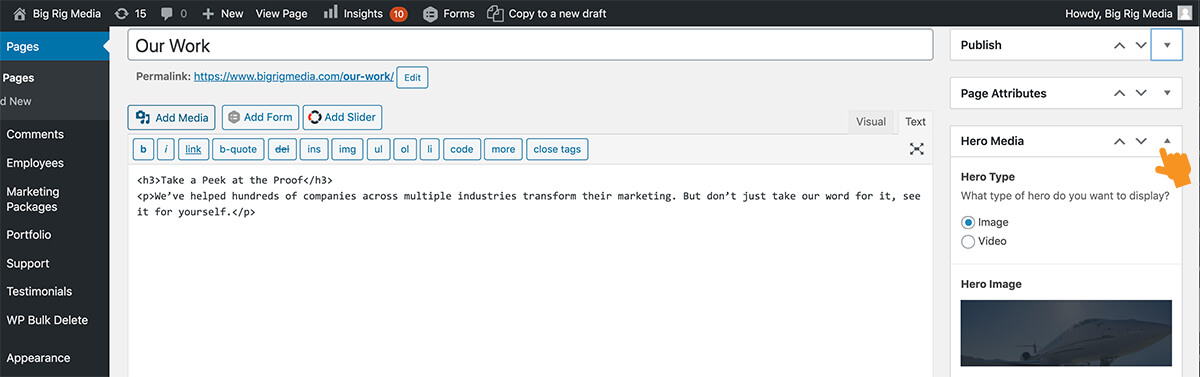
Next, all you have to do is click the button Add new image and choose an image from your library. If the image of your choice is too large, the WordPress platform allows you to adjust it as you see fit.
We don’t recommend using smaller images as they can appear low quality due to stretching.
Once you’ve adjusted your header image, just click Update. You’re all set.
Note that not all themes support custom headers!
Pretty simple, huh?
If WordPress ever gets on your nerves, for whatever reason, we’re all set up and ready to help you out. Contact us today, or take a look at some of our case studies to learn how we can make your website awesome.